The Art of Baking: DIY Tips for Perfectly Fitted Ice Hockey Skates
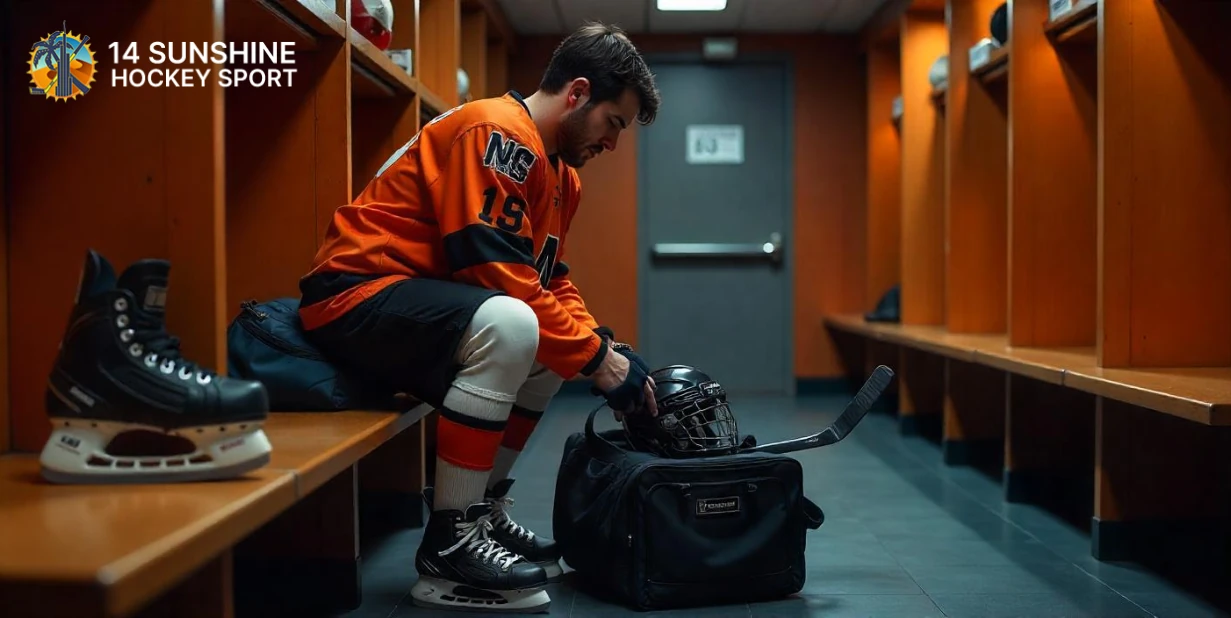
If you’re serious about your performance on the ice, ensuring your Ice Hockey Skates fit perfectly is crucial. One of the best ways to achieve a custom fit is by baking your skates at home. This process, often used by professional players, allows the skate’s material to mold to the shape of your foot, offering a snug fit that enhances comfort and control. In this guide, we’ll walk you through the process of baking your ice hockey skates and provide tips on how to get the most out of your hockey equipment.
Why Baking Your Ice Hockey Skates Matters
Baking your skates can be a game-changer, especially for those who spend a lot of time on the ice. This technique is commonly used to break in new hockey ice skating shoes quickly, providing a custom fit that reduces pressure points and discomfort. A well-fitted skate not only improves your comfort but also enhances your performance, allowing you to skate faster, turn sharper, and play longer without foot pain.
What You Need to Know Before Baking Your Skates
Before you start, it’s important to understand that not all skates are suitable for baking. Most modern skates, especially mid-range to high-end models, are designed for this process. However, always check the manufacturer’s guidelines to ensure your skates can be baked. If you’re unsure, consult with a professional or refer to the instructions provided with your skates.
Step-by-Step Guide: How to Bake Ice Hockey Skates at Home
Baking your ice hockey skates at home is a relatively simple process, but it requires careful attention to detail. Follow these steps for the best results:
- Preheat Your Oven:
- Start by preheating your oven to 175°F (80°C). It’s essential to keep the temperature low to avoid damaging the skate materials.
- Prepare Your Skates:
- Remove the laces and open up the skates as much as possible. This will make it easier to put them on after baking.
- Bake the Skates:
- Place the skates on a baking sheet and put them in the oven. Allow them to heat for about 6-8 minutes. Keep a close eye on the skates to ensure they don’t overheat, which could ruin them.
- Fit the Skates:
- Carefully remove the skates from the oven and let them cool for a few seconds. Put on your hockey ice skating shoes, making sure to wear the same socks you use during games. Lace up the skates tightly but comfortably, ensuring the material molds to the shape of your foot.
- Let Them Cool:
- Sit down and remain still while the skates cool and harden around your feet. This process usually takes about 15-20 minutes. Avoid walking around during this time to ensure the skates mold properly.
- Final Adjustments:
- Once the skates have cooled, remove them and re-lace them as you normally would. You should notice a significant difference in how they feel, with a snug, custom fit tailored to your feet.
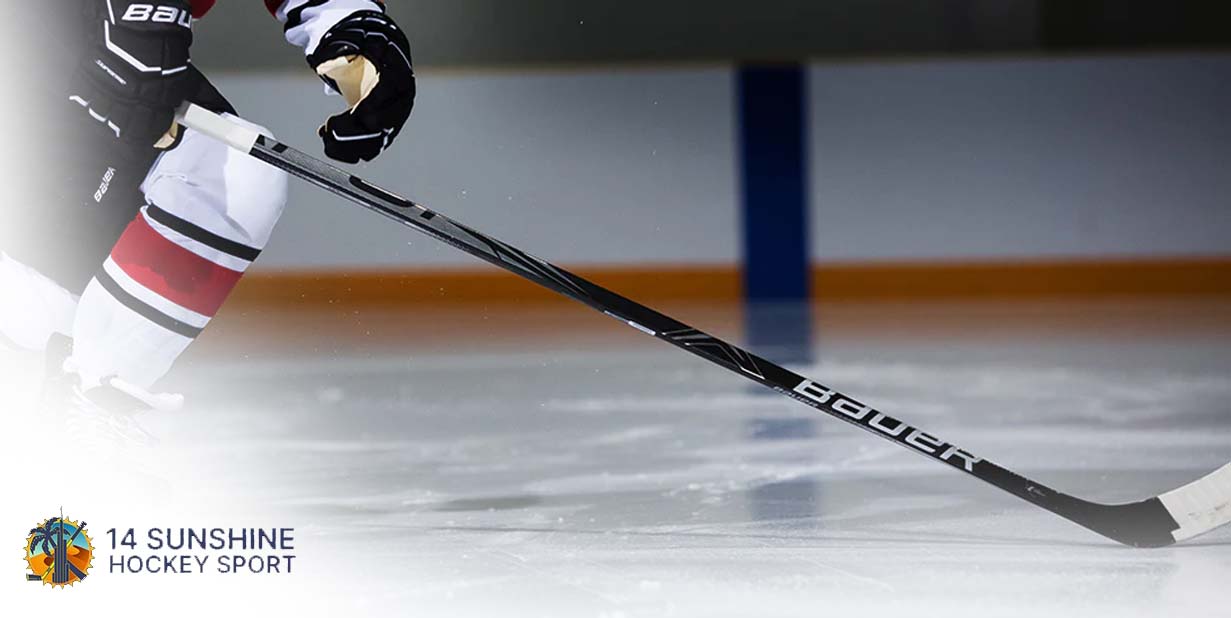
Understanding Ice Hockey Skate Sizing
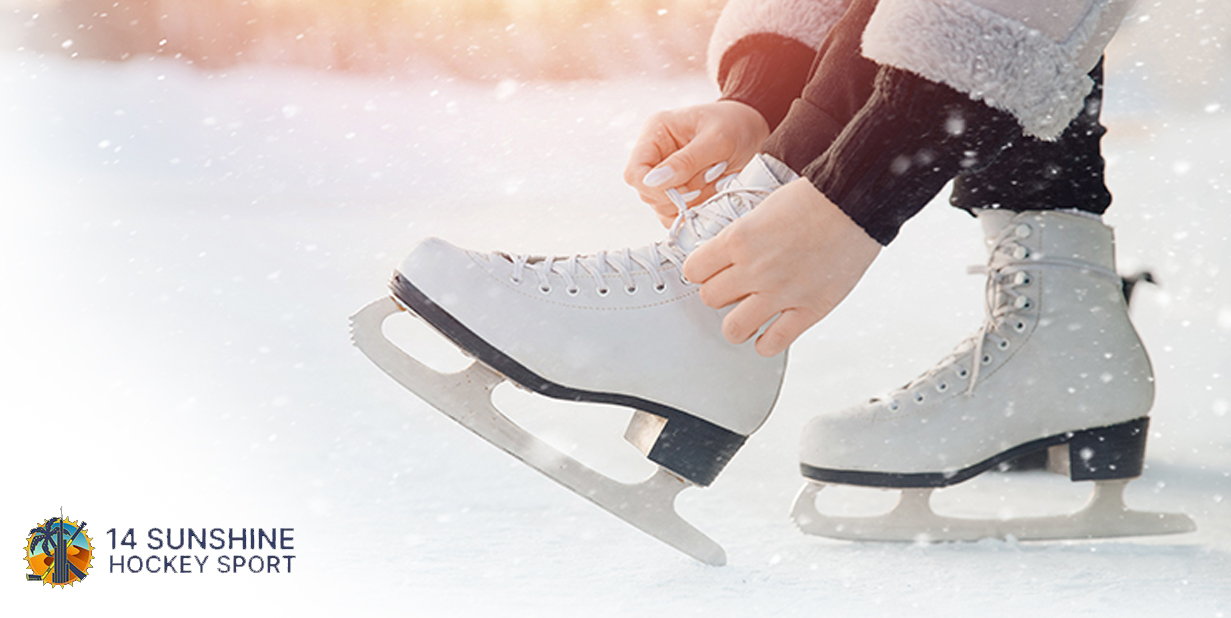
Proper sizing is critical when it comes to ice hockey skates. Skates that are too large can cause blisters and reduce your control on the ice, while skates that are too small can lead to discomfort and even injury. When selecting your skates, remember that hockey skate sizing differs from regular shoe sizing. Most skates are about 1-1.5 sizes smaller than your shoe size. Always try on skates with the socks you plan to wear while skating to ensure the best fit.
The Difference Between Hockey Skates and Ice Skates
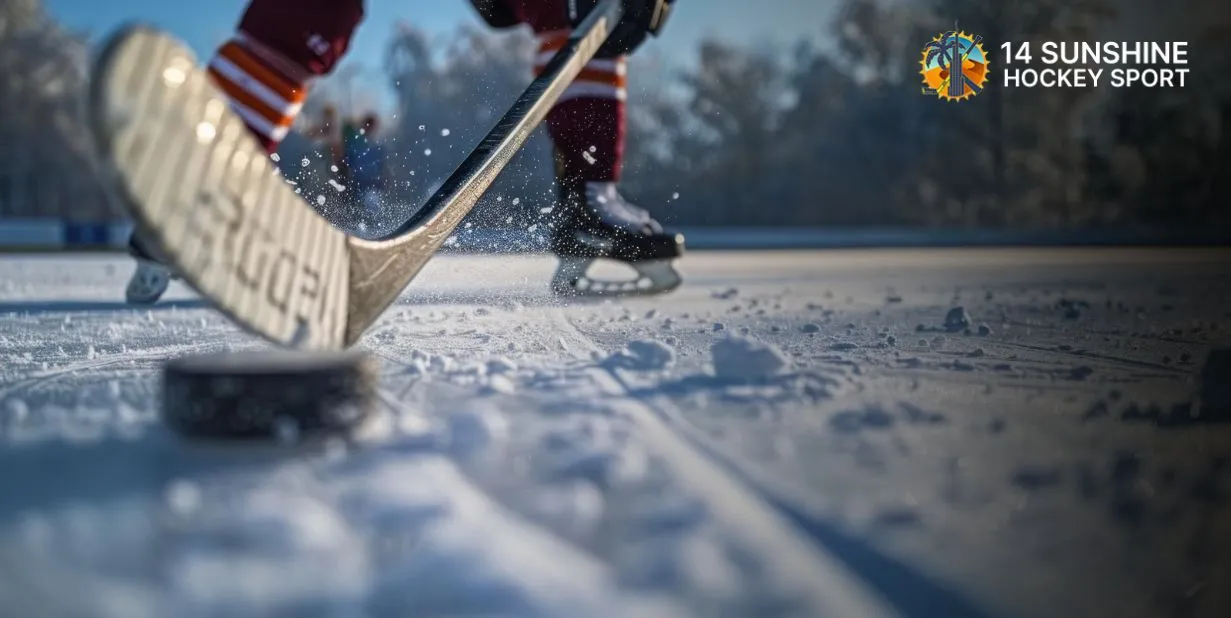
It’s important to note the difference between hockey skates and ice skates. Hockey skates are designed for speed, agility, and quick stops, with a curved blade that allows for tight turns. Figure skates, on the other hand, have a longer blade with a toe pick, designed for jumps and spins. If you’re looking to bake your skates, make sure you’re using ice hockey skates, as the process may not be suitable for figure skates.
Baking for Different Types of Skates
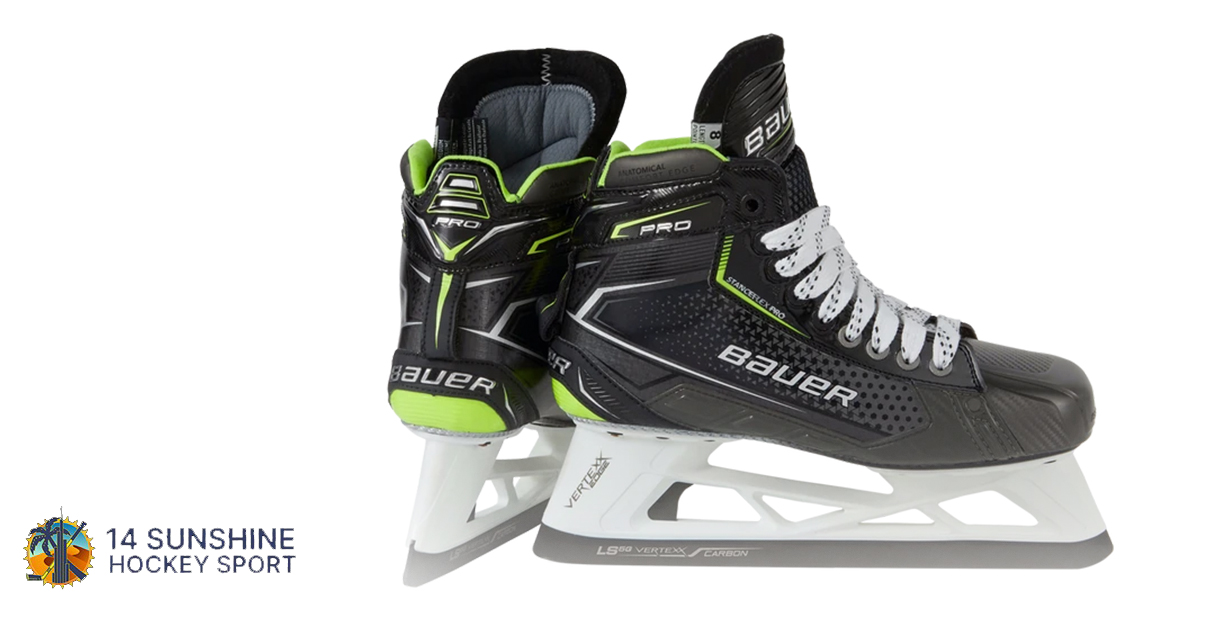
While baking is beneficial for most skaters, it can be especially helpful for ice hockey goalie skates. Goalies require skates that offer both protection and mobility, and a custom fit can significantly enhance their performance. The baking process for goalie skates is the same as for regular skates, but goalies should pay extra attention to the fit around the ankle and heel to ensure maximum support.
How to Ice Skate Hockey: Benefits of a Custom Fit
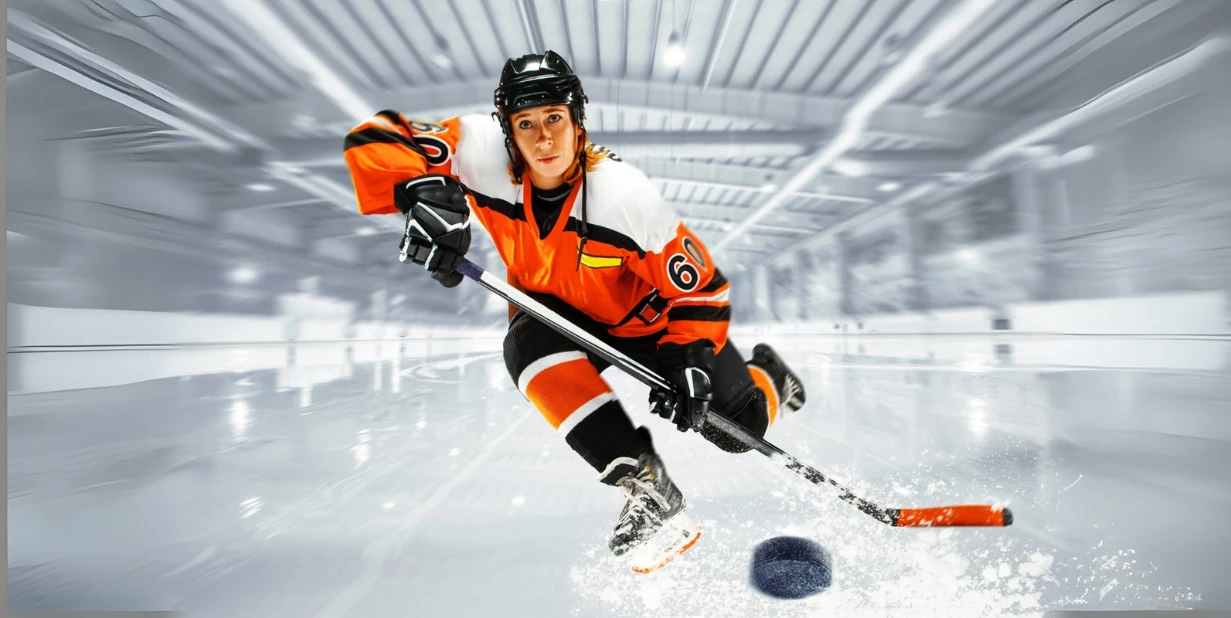
Learning how to ice skate hockey is all about mastering control and speed. A well-fitted skate is essential for both of these aspects. Baking your skates not only provides comfort but also improves your connection to the ice, allowing for better power transfer during strides and more precise movements.
Common Mistakes to Avoid When Baking Skates
While the process is straightforward, there are a few common mistakes to avoid:
- Overheating the Skates: Always keep the oven at the recommended temperature. Overheating can warp the materials and ruin the skates.
- Walking During Cooling: It’s important to stay seated while the skates cool. Walking around can prevent the skates from molding correctly.
- Not Checking Compatibility: Ensure your skates are designed for baking before attempting the process.
Conclusion: Perfecting Your Fit
Baking your ice hockey skates at home is a great way to achieve a perfect fit, enhancing both comfort and performance on the ice. By following these DIY tips, you can ensure your skates are molded to your feet, giving you the confidence to play your best game. Whether you’re a seasoned player or just starting out, investing time in customizing your skates will pay off in improved performance and enjoyment on the ice.